Carolina NeuLog Current Manuel d'utilisateur
Naviguer en ligne ou télécharger Manuel d'utilisateur pour Équipement Carolina NeuLog Current. Carolina NeuLog Current User Manual Manuel d'utilisatio
- Page / 4
- Table des matières
- MARQUE LIVRES
Résumé du contenu
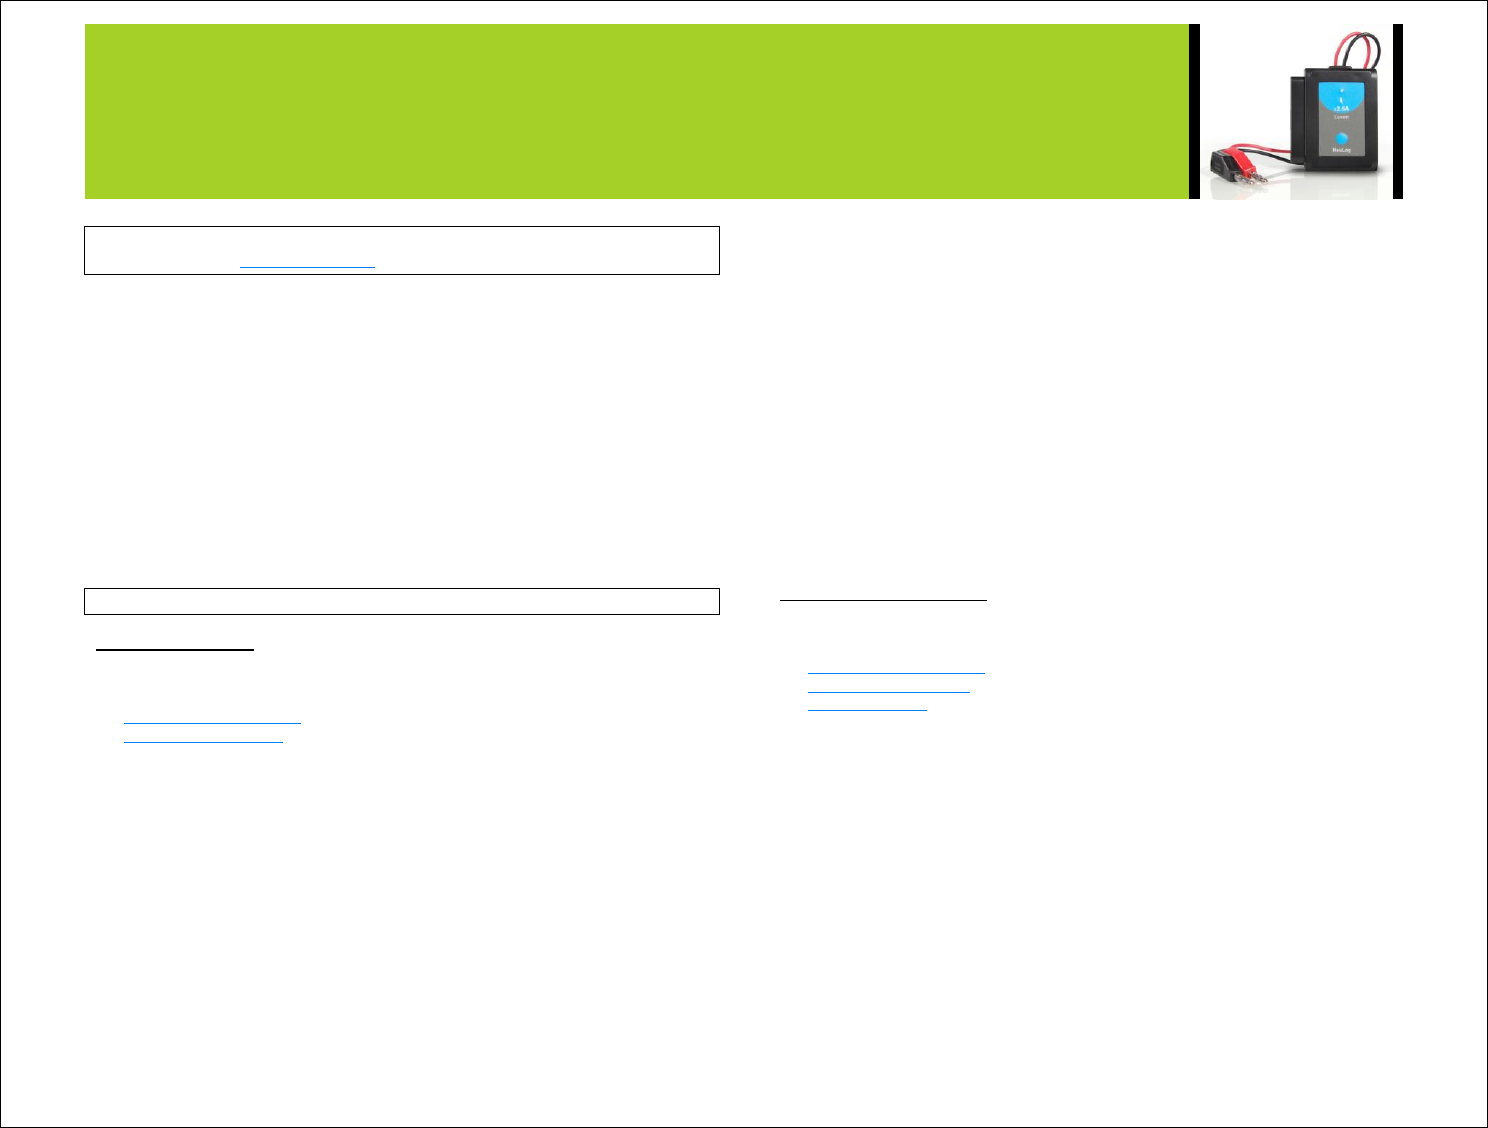
NEULOG CURRENT SENSOR GUIDE NeuLog current sensor NUL-202 Carolina # 369631 The NeuLog current sensor can be used for any science experiment or a
NEULOG CURRENT SENSOR GUIDE 4. For further WIFI-201 instructions or the WIFI-201 quick start guide please visit www.NeuLog.com/download. 5. The WI
NEULOG CURRENT SENSOR GUIDE 2. Connect the current sensor to a USB-200 module (they directly plug together). Please note there is no calibration r
NEULOG CURRENT SENSOR GUIDE Thank you for using NeuLog! Flexible, simple, fast, forward thinking. W: www.neulog.com E: [email protected] A: 850 S
Produits connexes et manuels pour Équipement Carolina NeuLog Current
 (1 pages)
© 2020, manymanuals.fr. Tous droits réservés | 0.809 s |
 Manymanuals.com
 Manymanuals.de
 Manymanuals.fr
 Manymanuals.it
 Manymanuals.pl
 Manymanuals.cz
 Manymanuals.es
 Manymanuals-pt.com
Commentaires sur ces manuels